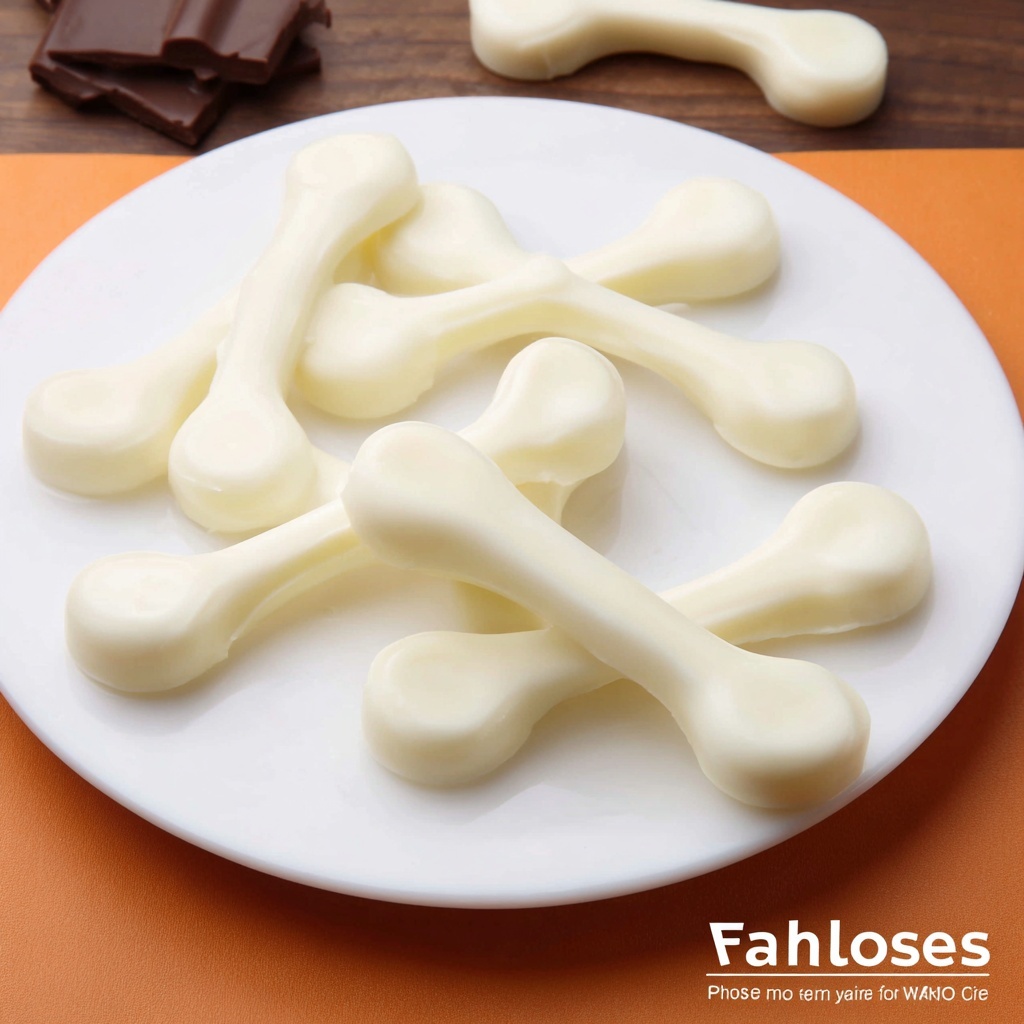
If you have a sweet tooth and love playful treats, you are going to adore this Chocolate Wishbones Recipe. These delicate, white chocolate creations are not only a feast for your eyes but also a delightful bite-sized indulgence that’s perfect for sharing with friends and family. They’re light, creamy, and have that magical charm that makes you want to make a wish before you snap one in half. Whether you’re planning a party appetizer, a charming dessert garnish, or just a fun snack, this recipe brings joy with every bite and is surprisingly simple to make at home.
Ingredients You’ll Need
For this Chocolate Wishbones Recipe, the ingredients list is wonderfully short but every component plays a key role. Each element enhances the texture, flavor, or ease of crafting these pretty chocolate shapes.
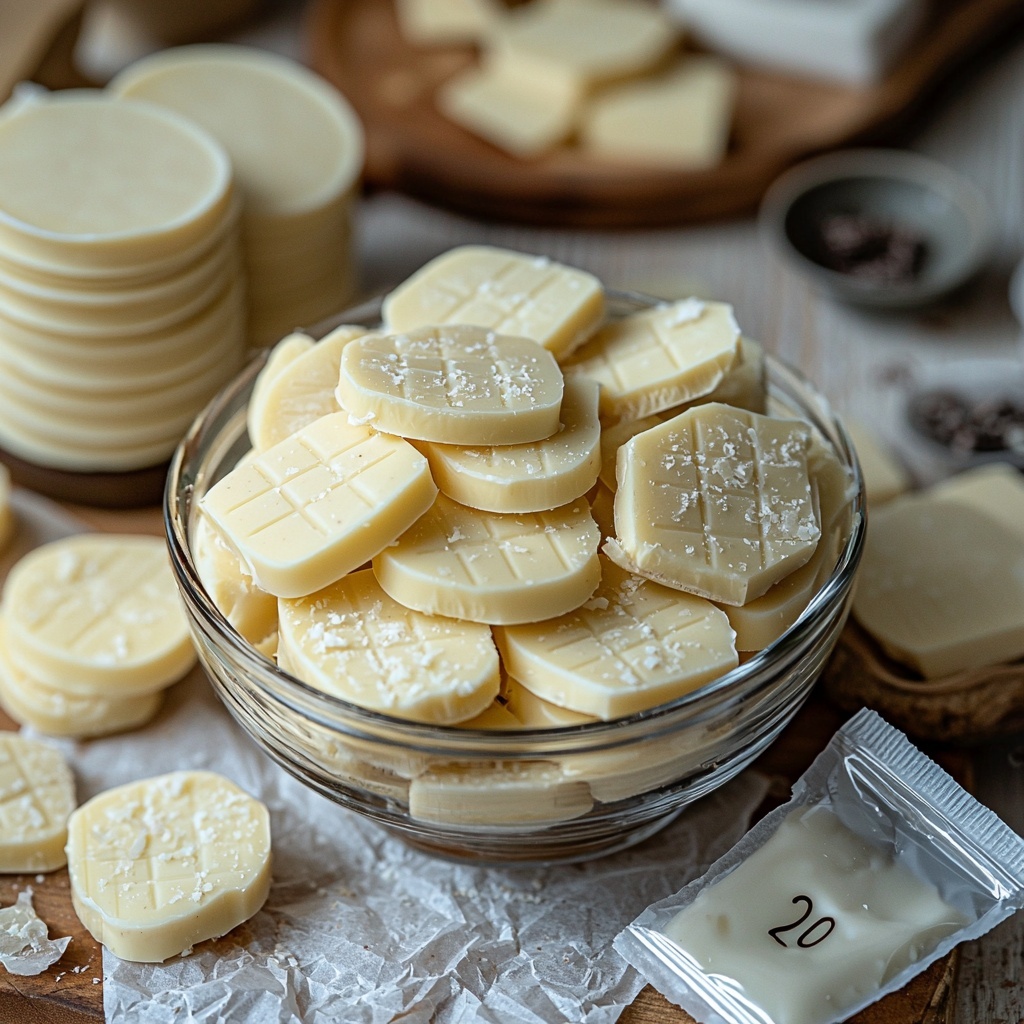
- 12 oz White Chocolate Wafers/Melts/Bark: These melt smoothly and give that creamy, sweet base crucial for forming wishbones without cracking.
- Sandwich size baggie: Acts as your piping tool; flexible and disposable for easy cleanup.
- Parchment paper: A non-stick surface that allows your chocolate wishbones to set perfectly without sticking or breaking.
How to Make Chocolate Wishbones Recipe
Step 1: Prepare Your Workstation
Start by lining a cookie sheet with parchment paper. This sets the stage for your chocolate to cool and firm up without sticking. Then, place your white chocolate wafers in a microwave-safe bowl, and melt them gently, microwaving in short bursts of 30 seconds. Stir well after each burst to avoid burning and achieve a smooth consistency.
Step 2: Fill Your Piping Bag
Next, spoon the melted chocolate into one corner of a sandwich baggie. It’s important not to overfill the bag – a little goes a long way! Snip just a tiny corner of the bag to create a controlled piping tip, ensuring precision when shaping your wishbones.
Step 3: Shape the Wishbone
Here’s the fun artistic part. Begin by squeezing a small oval shape near the bottom of your parchment paper. Without lifting the baggie, extend to the left in a half-heart curve. When you reach the height you want, squeeze a little extra chocolate to form a second oval. This forms one side of the wishbone.
Step 4: Complete the Wishbone
Carefully lift the bag and return to the original bottom oval. Now recreate the right side, mirroring the left side exactly. This symmetrical approach gives your wishbone its iconic shape. Don’t worry if your first few aren’t perfect – they only get better with practice!
Step 5: Chill and Set
Pop the tray into the fridge for about 3 to 5 minutes. Cooling solidifies the chocolate quickly so you can enjoy them sooner. Once hardened, your wishbones are ready to snap, share, or save for a special treat.
How to Serve Chocolate Wishbones Recipe
Garnishes
These chocolate wishbones look beautiful on their own, but you can add a little sparkle with edible glitter, a sprinkle of crushed peppermint, or a light dusting of cocoa powder. Adding color with drizzle of dark chocolate or a few tiny edible flowers can make each piece a little edible artwork perfect for parties or gifts.
Side Dishes
Serve your Chocolate Wishbones alongside a cup of hot cocoa, a creamy vanilla latte, or even a refreshing glass of cold milk. Their sweet, creamy texture pairs wonderfully with warm beverages or simple fruit salads, adding a touch of whimsy and sweetness to your dessert table.
Creative Ways to Present
For extra fun, arrange your wishbones around cupcakes, on top of cakes, or scattered across a dessert platter with other white and dark chocolates. You can even tie individual wishbones with thin ribbons as edible favors for guests at any celebration. The charming shape makes them ideal for festive holiday displays or thoughtful homemade gifts.
Make Ahead and Storage
Storing Leftovers
Keep leftover Chocolate Wishbones fresh by storing them in an airtight container at room temperature. Avoid humid or very warm places to prevent melting and sticking. Stored properly, they can last for about a week without losing their crisp texture.
Freezing
If you want to save them longer, you can freeze the wishbones. Place them in a single layer on parchment, freeze until solid, then transfer to a sealed freezer bag or container. This keeps them safe from moisture and ensures they won’t break. When ready, thaw at room temperature before serving.
Reheating
Since wishbones are best enjoyed as is, reheating is generally unnecessary. However, if you prefer them slightly softened, let them sit in a warm room for a few minutes rather than using heat sources that might melt or ruin their shape.
FAQs
Can I use milk or dark chocolate instead of white chocolate?
Absolutely! You can substitute milk or dark chocolate if you prefer a richer or different flavor, but keep in mind the visual appeal changes with the darker shades. Also, their melting behavior might vary slightly, so adjust melting times carefully.
How do I prevent the chocolate from seizing during melting?
Make sure to melt the chocolate in short bursts and stir thoroughly between sessions. Avoid getting any water or steam into the chocolate, as moisture causes seizing. Using a dry bowl and utensils will help maintain a smooth melt.
What if my wishbones break easily after setting?
If they’re too brittle, it might be due to the chocolate setting too fast or being too thin. Try piping slightly thicker lines and allow the pieces to chill completely before moving. Also, store them away from humidity to keep their crispness intact.
Can I add flavors or colors to the chocolate?
Yes, you can gently stir in a few drops of flavor extracts like vanilla or almond after melting, or mix in colored candy melts for festive variations. Just be sure not to over-stir to avoid cooling the chocolate prematurely.
What occasions are best for serving Chocolate Wishbones Recipe?
They’re perfect for holidays like Christmas or Easter, birthday parties, bridal showers, or any time you want a charming, edible conversation piece. Their whimsical look makes them a lovely addition to both casual gatherings and elegant events.
Final Thoughts
Now that you’ve got this fabulous Chocolate Wishbones Recipe in your culinary arsenal, you’re ready to add a dash of magic and sweetness to your next gathering or cozy night in. These charming treats are not only satisfying to make but absolutely delightful to share. So grab your white chocolate, get your parchment ready, and start piping your delicious wishes into reality!
Print
Chocolate Wishbones Recipe
- Prep Time: 10 minutes
- Cook Time: 0 minutes
- Total Time: 10 minutes
- Yield: Approximately 30 wishbones (2½ dozen)
- Category: Dessert
- Method: No-Cook
- Cuisine: American
Description
Create charming and delicious Chocolate Wishbones using white chocolate melts. This simple no-bake recipe involves melting white chocolate, piping it into wishbone shapes on parchment paper, and chilling until set. Perfect as whimsical treats for parties, gifts, or just a sweet snack.
Ingredients
Ingredients
- 12 oz White Chocolate Wafers, Melts, or Bark
- Sandwich size plastic baggie
- Parchment paper
Instructions
- Prepare the workspace: Line a cookie sheet with parchment paper to create a non-stick surface for your chocolate wishbones.
- Melt the chocolate: Place the white chocolate wafers in a microwave-safe bowl. Microwave for 30 seconds, then stir. Continue microwaving in 15-30 second intervals, stirring in between, until fully melted and smooth.
- Fill the piping bag: Spoon the melted chocolate into the corner of a sandwich-sized plastic baggie. Snip off a tiny portion of the corner to create a small opening for piping.
- Pipe the left half of the wishbone: Starting at the bottom, squeeze a small amount of chocolate to form an oval shape. Without lifting the bag, continue to pipe leftward creating a half-heart shape. When you reach the desired height, squeeze a little extra chocolate to create another oval on top.
- Pipe the right half: Lift the baggie and return to the bottom oval. Pipe the right half symmetrically, mirroring the left side, to complete the wishbone shape.
- Chill to set: Place the cookie sheet in the refrigerator for 3 to 5 minutes to harden the chocolate wishbones.
- Serve or store: Once set, enjoy immediately or store the wishbones in an airtight container. One 12 oz bag of melts yields approximately 2½ dozen wishbones.
Notes
- Be careful not to snip too large an opening on the baggie corner; a small hole ensures better control while piping.
- If the chocolate thickens while piping, gently reheat in short bursts to soften.
- Store remaining wishbones in an airtight container at room temperature or in the fridge to maintain their shape.
- Feel free to experiment with colored candy melts to create colorful wishbones for themed events.

